7 Tips Why Does Digital Printing Quality Decrease Over Time?

Time:2026-09-30 Author:Liam
0%

Digital printing often looks permanent, but its quality can change with every production season. Faded colors, uneven density, banding, and blurred fine text may appear gradually. This raises an important question: why does digital printing quality decrease over time?

Frank Romano, a respected printing educator and industry authority, states, “Digital printing is not maintenance-free printing.” His observation reflects a common reality inside busy print rooms. A machine may produce sharp images in the morning, then show visible color shifts after thousands of sheets. Heat, humidity, paper dust, ink buildup, and worn printheads can quietly affect results. Even a small calibration error may turn a neutral gray into a greenish tone. It happens slowly.

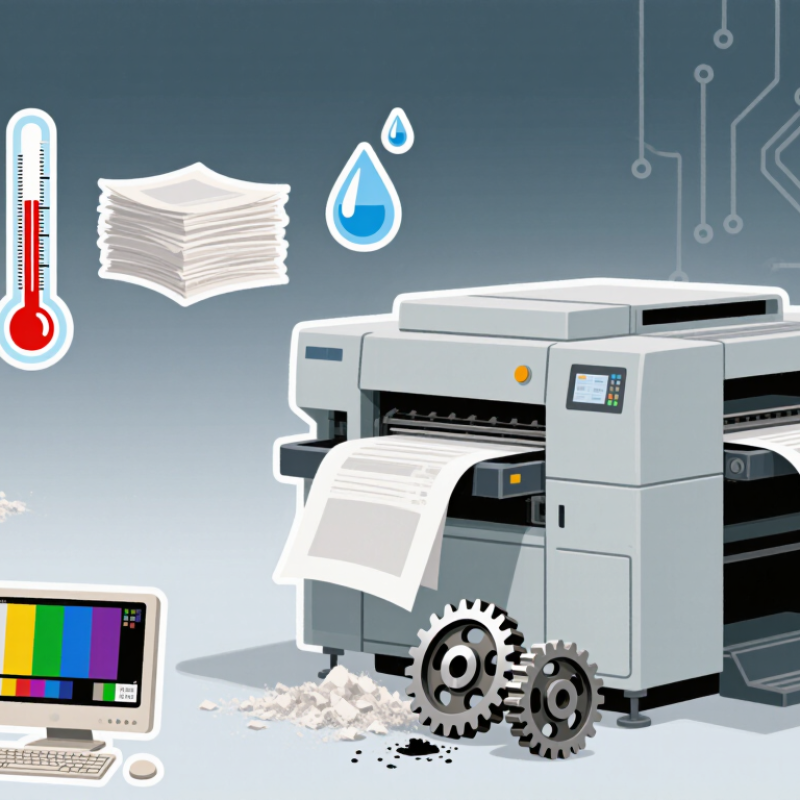
This guide examines seven practical reasons behind declining digital print quality. It considers printhead aging, inconsistent substrates, environmental changes, neglected maintenance, outdated color profiles, mechanical wear, and operator decisions. Each factor leaves physical clues, such as clogged nozzles, patchy solids, curled paper, or misaligned text. These details matter because quality problems rarely come from one cause alone.

The explanation is useful, but not perfect. Different machines fail differently. Some apparent color problems also come from lighting or incorrect screen settings. A careful diagnosis should include test charts, maintenance records, and measured color data. Experienced operators learn to inspect prints under stable lighting, not beside a bright window. They also know that “good enough” can become expensive when reprints pile up. Understanding why does digital printing quality decrease over time helps teams protect consistency before defects become customer complaints.
7 Tips Why Does Digital Printing Quality Decrease Over Time?

Define Digital Print Quality and ISO 12647-8 Measurement Criteria

Digital print quality is more than a sharp image. It includes accurate color, even tone, clean detail, and consistent results across repeated jobs. A red logo should look similar on the first sheet and the last, while small text remains legible under ordinary viewing conditions. Paper matters, too. Its whiteness and surface can change how colors appear.

ISO 12647-8 provides criteria for validating digital printing processes, including color accuracy and print consistency. Measurements often use a spectrophotometer and a defined test chart. Color differences can be expressed as ΔE00, while checks for uniformity reveal whether patches vary across a sheet. The substrate and viewing conditions must also be considered. Otherwise, a measurement may look precise but tell an incomplete story. That happens more often than it should.

These criteria help printers compare output with agreed targets, rather than relying only on memory or visual judgment. They do not guarantee that every job will look identical on every material. Over time, changes in calibration, printheads, ink, or environmental conditions can shift results. A fresh measurement can expose the drift. Still, numbers need context: a tiny measured difference may be visible on a smooth neutral gray, yet barely noticeable in a textured photograph. The standard is useful, but interpreting it takes care.

Identify Ink, Toner, and Substrate Aging Through ISO 11798 Testing

Why Does Digital Printing Quality Decrease Over Time?

A print can look crisp on day one and still fade, smear, or lose contrast later. The cause may be ink, toner, or the paper beneath it. ISO 11798 provides requirements and test methods for assessing the permanence and durability of writing, printing, and copying on paper. It helps evaluate whether printed information withstands conditions such as light, moisture, heat, and handling. It does not automatically identify which component failed. That takes careful comparison.

A practical assessment starts with controlled samples. Print the same text and image on different substrates, then record their appearance before and after testing. Check fine lines, pale areas, color shifts, and toner adhesion. A small patch of gray text may reveal fading sooner than a bold headline. Keep samples away from direct sunlight until testing, and note storage conditions; even a warm, damp room can influence results. Compare ink or toner behavior across papers, but avoid blaming the consumable too quickly. Paper coatings and surface texture matter. Results can be imperfect, and real-world aging is hard to reproduce exactly. Still, documented ISO 11798 testing offers useful evidence for choosing durable print materials and spotting weaknesses early.

Explain UV, Ozone, Humidity, and Light Exposure as Key Fade Drivers

Digital prints rarely fade for just one reason. Ultraviolet light can break down colorants, especially near sunny windows or under strong display lighting. A print may look fine for months, then show pale patches where sunlight hits it directly. Move it out of direct sun. Even indoor light adds up over time.

Ozone in the air can react with some colorants and dull particular hues. This is more noticeable in poorly ventilated spaces or near equipment that produces ozone. Humidity matters, too. Damp air can soften paper, encourage waviness, and affect how some inks hold to a surface. Keep prints in a stable, dry room, away from bathrooms, kitchens, and exterior walls that feel cold or damp. Avoid sealing a print while it is still humid.

Light exposure is not always easy to judge. A bright room can feel harmless, yet hours of daily exposure accumulate. Use UV-filtering glazing when framing valuable prints, but do not treat it as complete protection. It reduces risk; it does not stop fading. Store unused prints flat, in protective sleeves, and away from heat. Results vary with ink, paper, coating, and display conditions, so no single care routine guarantees lasting color. I have seen prints fade unevenly, and the cause is not always obvious. Sometimes the room itself needs a closer look.

Analyze Color Drift, Dot Gain, and Density Loss Over Extended Storage

A print can look stable on day one and noticeably different months later. The change is rarely one fault. Light, heat, humidity, and contact with packaging can shift color, especially in pale grays and skin tones. ISO 18909 sets out accelerated light and dark stability tests for photographic color images; its test framework is a useful reminder that storage conditions matter. But a lab test does not perfectly predict every warehouse shelf.

Dot gain is different: printed dots appear larger than intended, softening small text and shadow detail. It can arise during printing, while later humidity changes may affect paper dimensions and make registration look less crisp. Fogra’s CMYK MediaWedge V3 includes 72 measurement patches, giving operators a practical way to compare color and tonal behavior across print checks. Keep a measured reference sheet beside stored work. A quick visual glance is not enough.

Density loss can make solids look weak and images feel flat. Store samples away from direct sunlight, heaters, damp walls, and tight plastic wrapping that may trap moisture. Record temperature, relative humidity, and measurement dates; otherwise, a gradual drift is easy to mistake for normal variation. Recheck color difference, solid density, and tone values against the original production target. Even careful records have gaps. That is a reason to measure again, not to assume the print is unchanged.

Why Digital Print Quality Can Decrease During Storage

Illustrative changes in color difference, dot gain, and density loss over 12 months of extended storage.

How to read this: Color difference (ΔE), dot gain (percentage-point increase), and density loss (percent) use separate scales. Values are illustrative, not universal; actual results depend on ink, substrate, light exposure, humidity, and storage conditions.

Apply Seven Industry-Based Maintenance Tips to Preserve Print Quality

Digital printing quality can decline gradually, even when equipment appears to work normally. Dots become uneven, colors lose balance, and fine text looks softer. Seven practical maintenance habits help prevent this slow damage.

Check nozzle patterns before production begins.

Small gaps often reveal blocked channels early. Calibrate print heads and color density on a fixed schedule, especially after heavy workloads. Clean the platen, rollers, and capping station with approved tools. Dried ink around these areas can cause streaks and inaccurate media movement. Do not rush this task.

Keep the room stable. Sudden changes in temperature or humidity can affect ink flow, paper expansion, and drying time. Store media sealed, flat, and away from direct sunlight. Open packaging only shortly before use.

Review color profiles whenever ink, media, or resolution settings change. Old profiles may produce disappointing results after a process change. Record every cleaning cycle, calibration result, and visible defect. A simple log can expose repeating problems before they become expensive.

Replace worn wipers and filters before failure, not after. This is where many teams hesitate. Waiting feels economical, but it often creates reprints and lost deadlines.

Technicians should also inspect prints under consistent lighting. A sample that looks correct under warm office lights may show serious color shifts elsewhere.

These habits need discipline, and one missed check can still affect an entire batch.

FAQS

What causes digital prints to fade over time?

Ultraviolet light can break down colorants, especially near sunny windows. Indoor lighting also accumulates exposure. Move prints away from direct sunlight.

How does ozone affect printed colors?

Ozone can react with certain colorants and dull specific hues. Poor ventilation may make this effect more noticeable. Fresh air helps.

Why do humidity and heat damage stored prints?

Damp air can soften paper, create waviness, and weaken ink adhesion. Heat may speed color changes. Keep prints flat in a stable, dry room.

Is UV-filtering glazing complete protection?

No. It reduces ultraviolet exposure but does not stop fading. Valuable prints still need limited display time and indirect light.

What is dot gain in digital printing?

Dot gain makes printed dots appear larger than intended. Small text becomes softer, and shadow details may lose clarity. Humidity can worsen paper movement.

How can operators detect gradual color drift?

Keep a measured reference sheet beside stored work. Check color difference, solid density, and tone values against the original target. Visual inspection alone misses changes.

Which maintenance checks help preserve print quality?

Check nozzle patterns before production. Clean rollers, platens, and capping areas with suitable tools. Calibrate regularly, and replace worn wiping parts before failure.

How should unused prints and media be stored?

Store prints flat inside protective sleeves, away from heaters, damp walls, and sunlight. Keep media sealed until shortly before use. Avoid trapping moisture.

Why should maintenance and storage conditions be recorded?

Record cleaning dates, calibration results, temperature, humidity, and visible defects. These notes reveal repeated problems. Records can still contain gaps.

Can one care routine guarantee lasting color?

No. Ink, paper, coating, light, and room conditions all matter. I have seen uneven fading without an obvious cause. Recheck the room and measure again.

Conclusion

Digital print quality can decline for several technical reasons, raising the question: why does digital printing quality decrease over time? Quality is evaluated through factors such as color accuracy, density, sharpness, dot gain, and overall consistency, with ISO 12647-8 providing useful measurement criteria. ISO 11798-style testing can help identify aging in inks, toners, and substrates. Prolonged exposure to ultraviolet light, ozone, heat, humidity, and fluctuating storage conditions may cause fading, color drift, reduced density, paper discoloration, and loss of image detail.

To preserve quality, follow seven practical measures: store prints in cool, dry, dark conditions; use stable, compatible substrates; protect materials from air pollutants and excessive light; control temperature and humidity; allow prints to fully cure or dry before storage; monitor color, density, and dot gain at regular intervals; and use calibrated equipment with documented maintenance procedures. These steps help detect deterioration early, extend print life, and maintain reliable results during long-term storage, handling, and display.

Liam

Liam

Liam is a dedicated marketing professional with a profound expertise in the industry, where he excels at highlighting the unique advantages of our core products. With a keen understanding of market trends and consumer needs, Liam frequently updates our company’s professional blog, providing......