China Top Guide How to Troubleshoot Printing Defects?

Time:2026-10-05 Author:Sienna
0%

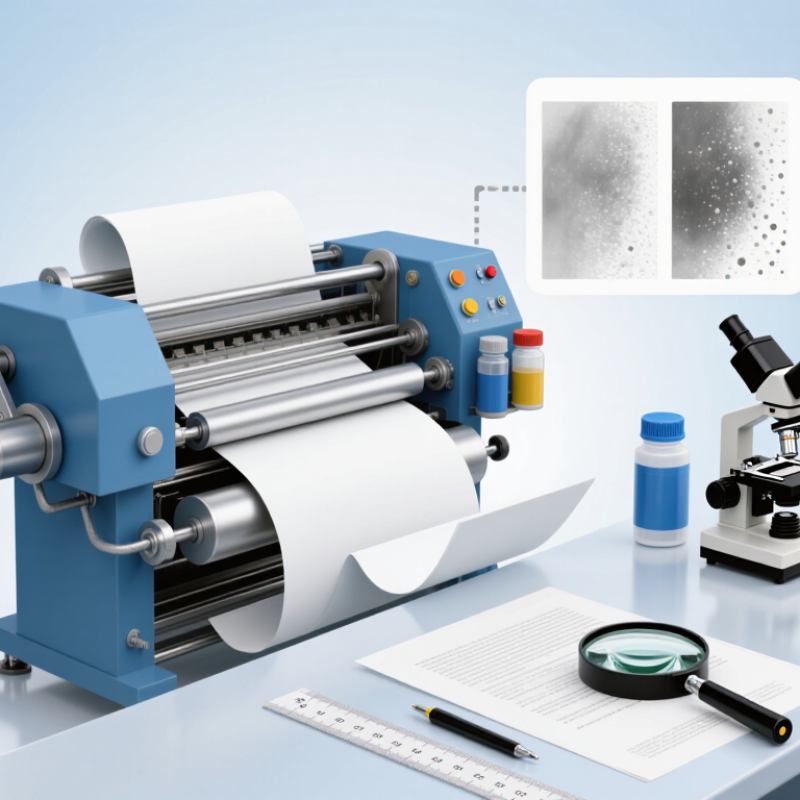
China Top Guide: How to Troubleshoot Printing Defects? explores practical methods for identifying and correcting common problems on press. Printing defects can appear as banding, ghosting, color shifts, pinholes, poor ink adhesion, or inaccurate registration. Each mark carries evidence. A faint repeated line may point to a damaged roller, while uneven color can indicate ink viscosity or drying changes.

This guide explains how to troubleshoot printing defects through controlled inspection rather than guesswork. Experienced operators begin with the printed sample, production records, and press conditions. They check the substrate surface, ink batch, plate or cylinder condition, impression pressure, drying temperature, and machine speed. Small details matter. A dusty sheet edge can affect registration. Excessive pressure can spread fine text. Humidity can also change paper behavior and ink performance.

Reliable troubleshooting requires repeatable tests. Change one variable at a time, record the result, and compare samples under consistent lighting. Calibrated measurement tools and supplier technical data can support better decisions. Safety procedures and manufacturer instructions should always guide adjustments. Not every defect has one cause. We sometimes blame the ink too quickly. In practice, the real issue may involve several small changes happening together. Careful review helps separate assumptions from evidence and improves future print quality.
China Top Guide How to Troubleshoot Printing Defects?

Identify the Printing Defect and Its Visible Symptoms

China Top Guide: How to Troubleshoot Printing Defects?

Identify the Printing Defect and Its Visible Symptoms

A reliable inspection starts with the printed sheet, not the machine settings. Under neutral, even light, check smearing, streaks, banding, and uneven ink density. Smearing appears as soft edges or dragged text. Banding looks like repeated horizontal lines across solid areas. Tiny white holes may indicate pinholes, contamination, or poor surface coverage. Compare the sheet with an approved reference under the same lighting.

Misregistration creates colored edges around fine text, icons, or sharp images. Ghosting may appear as a faint repeated image beside a darker one. Set-off leaves unwanted marks on the reverse side when stacked sheets touch. Color shift is visible when skin tones, logos, or neutral gray areas look noticeably warmer or cooler. I have seen operators blame ink too quickly. Paper moisture, pressure, drying time, and blanket cleanliness can produce similar symptoms. The first assumption is not always correct.

Tips: Photograph the defect beside a clean sample. Mark its position and repeat pattern. Check whether it appears on every sheet or only occasionally. Use a calibrated loupe and consistent lighting when examining small dots. Record press speed, material condition, and recent adjustments. Do not change several settings at once. That makes the real cause harder to identify. A simple inspection log often reveals patterns that memory misses.

Check the Printer, Materials, and Operating Conditions

China Top Guide: How to Troubleshoot Printing Defects?

Check the Printer, Materials, and Operating Conditions

Printing defects often appear as banding, smears, weak adhesion, or uneven color. Start with the printer, not the artwork. Run a nozzle or alignment test before changing settings. Inspect the printhead, rollers, platen, and ink delivery path for residue or damage. A blocked nozzle may create thin white lines. Worn rollers can leave repeated marks. Clean components according to the equipment manual, then record the result.

Materials deserve equal attention. Check the substrate’s thickness, surface coating, moisture, and storage history. Two rolls from different production batches may behave differently. Keep samples in the printing room long enough to reach a stable temperature. Dust, curled edges, or excess moisture can reduce adhesion and cause wrinkles. Test a small area first. This saves material.

Operating conditions also affect consistency. Measure temperature and humidity instead of relying on comfort. Poor ventilation may slow drying, while excessive heat can distort the substrate. Check curing or drying energy with a calibrated method when possible. I have seen operators increase ink volume to hide pale areas, but this often causes smearing. That approach needs reconsideration. Adjust one variable at a time, print a controlled sample, and compare it under the same light. Keep defect photos, machine settings, material batch numbers, and inspection results. Small records often reveal patterns that memory misses.

Adjust Settings to Correct Common Print Quality Problems

Adjust Settings to Correct Common Print Quality Problems

When print quality drops, changing the paper or ink is not always the answer. The settings may be causing the defect. In practical print checks, I compare one flawed sheet with a fresh test sheet. This reveals whether the problem comes from alignment, color, or paper handling. Set the correct media type before printing. A glossy sheet and a plain sheet absorb ink differently. Using the wrong option can create dull colors, wet patches, or blurred edges. Choose standard quality for drafts and higher resolution for detailed images. Higher quality is not always better. It can increase drying time and cause smearing on absorbent paper.

Color problems often improve after selecting the correct color mode. Check brightness, contrast, and saturation in small steps. Large adjustments can hide the real cause. For lines or text that look uneven, run alignment and cleaning tests. Cleaning too often wastes ink and may not solve a mechanical issue. Let the print rest for several minutes before judging it. I have sometimes mistaken slow drying for poor image quality. That mistake is easy to repeat.

Tips: Print a small sample first. Use fresh, flat paper. Keep the selected paper type accurate. Reduce ink density when areas look too wet. Check alignment after moving the paper tray. Record each setting change, because memory is unreliable. If defects remain, inspect the nozzle pattern and printhead position under good light.

Clean, Repair, or Replace Defective Printer Components

China Top Guide: How to Troubleshoot Printing Defects?

Printing defects often reveal a component problem, not a paper problem. Begin with streaks, pale areas, smears, or repeated marks. Check the cartridge, drum, fuser, rollers, and paper path separately. A dry, lint-free cloth can remove loose toner and dust. Never scrape a drum surface. It can create permanent lines.

Clean components when contamination is visible. Repair only parts with minor, serviceable damage. Replace warped rollers, cracked gears, or scratched imaging units. I have learned that replacing everything feels safe, but it often wastes money. The Global E-waste Monitor 2024 reported 62 million tonnes of electronic waste in 2022, while only 22.3% was formally recycled. Careful component replacement supports maintenance and reduces unnecessary waste. Record the defect before disassembly. This small step is easy to forget.

Tips: Print a diagnostic page first. Compare repeated marks by spacing. Matching intervals can identify the damaged roller or drum. Use approved cleaning materials and follow the service manual. After repair, print ten test pages. A single clean page proves very little. Do not ignore faint defects; heat can make them worse.

China Top Guide: How to Troubleshoot Printing Defects?

Clean, Repair, or Replace Defective Printer Components

This brand-neutral troubleshooting guide shows the recommended first action for common printing defects. A value of 100% identifies the preferred starting action, not the probability of failure. Always switch off and unplug the printer before inspecting internal components.

Verify the Results and Prevent Future Printing Defects

After troubleshooting a printing defect, verify the result under real production conditions. Do not judge one sample alone. Inspect at least ten sheets from different positions in the run. Check color density, registration, sharpness, coating, and paper coverage under neutral light. Compare the approved proof with production samples side by side. Measure critical areas when possible, rather than trusting eyesight. Record machine settings, material batch, drying time, and operator adjustments. This evidence makes decisions traceable and easier to review.

Tips: Let printed sheets stabilize before inspection. Humidity and temperature can change their appearance. Use a defect log with photographs and measured values. Mark each sample as acceptable, borderline, or rejected. Ask another trained person to inspect borderline sheets. A second opinion often catches small shifts near text edges. We sometimes inspect too quickly. That mistake can repeat an unnoticed defect across a full batch.

Prevent recurrence by linking each defect to a controllable cause. Set practical limits for registration, ink coverage, drying, and surface cleanliness. Verify these limits at startup and after material changes. Clean inspection tools and calibrate measuring devices on a fixed schedule. Review trends weekly, not only failures. If a correction works once, test it again under different speeds and humidity levels. Production pressure may encourage shortcuts. Resist them. A complete record supports consistent quality and responsible decisions.

FAQS

What visible symptoms suggest a printing defect?

Look for smearing, streaks, banding, uneven ink density, and tiny white holes. Soft edges may indicate dragged text. Repeated horizontal lines often show banding. Inspect the sheet under neutral, even lighting.

How can I check whether a defect repeats?

Photograph the flawed sheet beside a clean reference. Mark the defect’s position and pattern. Check several sheets from different points in the run. A repeating mark may reveal a mechanical or material issue.

What can cause colored edges around text or icons?

Colored edges usually suggest misregistration. Check fine text, small icons, and sharp images closely. Inspect alignment before changing ink settings. My first guess may be wrong.

Why do faint duplicate images appear beside darker images?

This symptom may indicate ghosting. It can appear as a pale repeated image near solid artwork. Compare the same area across multiple sheets. Record press speed, paper condition, and recent adjustments.

How can incorrect media settings affect print quality?

Select the correct paper type before printing. Glossy and plain sheets absorb ink differently. Wrong settings may create dull colors, wet patches, or blurred edges. Use fresh, flat paper for a small test.

What should I do when colors look too warm or too cool?

Compare skin tones, neutral gray areas, and approved samples. Check the selected color mode. Adjust brightness, contrast, or saturation in small steps. Large changes can hide the actual cause.

How should I verify a correction?

Let the printed sheets stabilize before inspection. Then examine at least ten sheets from different positions. Check density, registration, sharpness, coating, and paper coverage. One good sample is not enough.

How can future printing defects be prevented?

Keep a defect log with photographs and measured values. Record settings, material batches, drying time, and adjustments. Set practical limits for ink coverage, registration, and drying. Review trends weekly. Shortcuts sometimes create repeat problems.

Conclusion

Printing defects can reduce product quality, waste materials, and slow down production, so a clear troubleshooting process is essential. This guide explains how to troubleshoot printing defects by first identifying visible symptoms such as streaks, spots, uneven color, blurred details, missing areas, or poor alignment. Next, inspect the printer, printing materials, and operating conditions, including material quality, environmental factors, surface cleanliness, and machine stability. These checks can help determine whether the problem comes from the equipment, consumables, or operating process.

The guide also covers practical adjustments to settings such as printing speed, temperature, pressure, resolution, and material placement to correct common quality issues. If the defect continues, cleaning, repairing, or replacing worn or damaged components may be necessary. Finally, print a test sample, compare the results with the required standard, and record the successful settings. Regular maintenance, proper material storage, routine inspections, and operator training can help prevent similar printing defects in the future.

Sienna

Sienna

Sienna is a skilled marketing professional with a deep expertise in our company’s core products and services. With a passion for innovation and detail, she plays a pivotal role in crafting insightful blog posts that not only highlight the unique features of our offerings but also provide valuable......